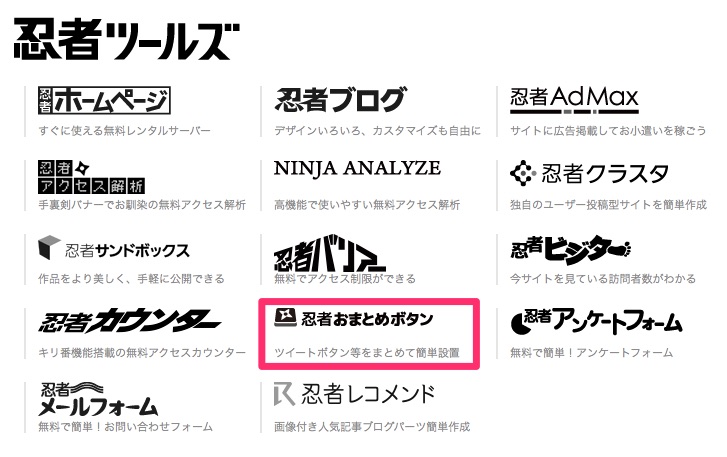
Ninja Tools' Ninja Summary button is super convenient! ! Easily set up social buttons all at once

Ninja Tools' Ninja Summary Button, which allows you to easily set up social buttons all at once, is super convenient! !

Hello, this is naouniverse ( @naouniverse708 ).

previously installed Zenback (blog widget) I decided to switch to the Ninja Summary button provided by Ninja Tools

[Related]: I tried introducing Zenback (blog widget) to my blog.

Zenback was also very convenient and nice, but Ninja Omatome Button has a wide variety of social button designs, so you can find the buttons you like.

So, I would like to summarize below how to add buttons to the Ninja summary button.

How to install the Ninja summary button

To use the Ninja Summary button, you will need a Ninja Tools account, so please create an account in advance.

After creating an account, the Ninja Summary Buttons page and select your favorite button set.
Click "Show more styles" to see more styles.

Create a new one with the above set

After selecting the button, click "Create new with the above set".

Select “WordPress”

Select the website where you want to install the Ninja Summary button.
I chose "WordPress" because this site was built using WordPress.

Check preview

While checking the preview,

  • Arrangement: horizontal/vertical
  • Display position: left/right alignment
  • Smartphone display: Disabled, Enabled (left aligned), Enabled (right aligned), Always displayed

Set these.

If you enable "Smartphone display", social buttons will be displayed at the front of the smartphone site.
I think it's a good idea to consider the compatibility with your own site and choose this option.

When "Smartphone display" is enabled

If "Smartphone display" is enabled (aligned to the left), it will be displayed like the image above.

Once completed, copy and paste the script code anywhere.

Customizing the Ninja summary button

As I mentioned earlier, the Ninja Summary Button has many different social button designs and can be further customized.

When you transition to the Ninja Summary Button home screen, the management screen for the buttons you have already created will be displayed.
Click "Edit" under "Settings".

The management screen for the buttons you have already created will be displayed.

It is now easier to find buttons by type.

There are many designs for social buttons.

Click the button you like and it will appear in the "Added Buttons" section below.
You can rearrange by dragging and dropping, and you can delete the selected button by placing the cursor on it and clicking "☓".

There are a wide variety of social button designs, so you may be confused as to which size and design to use.
However, no matter which button you use, I think it will look better if the size of the buttons in one line is the same to some extent.

Click the "Preview & Get Code" button and copy and paste the script code anywhere.
If you have already installed the script code, you can immediately check it on the site.

Afterword

How do you like it?

Even after installation, you can easily customize it from the management screen without having to modify the copied and pasted script code, which is extremely convenient.

I think I'll be using Ninja Tools' Ninja Summary button for a while.

[Related]: I tried introducing Zenback (blog widget) to my blog.

[Related]: I set up a Facebook comment section on my blog.

  • Add this entry to Hatena Bookmarks

At "naouniverse.com", the administrator writes about things, things, and the world that interest him.
Gadgets, cameras, design, programming, L'Arc~en~Ciel, etc...